Types of shot sizes used in film — from extreme wide to POV — plus why you might use each one, and a learning exercise at the end.
The Focus of This Module
This module explores the main shot sizes used in film and how each one influences storytelling:
Wide shots – context, world-building, blocking, and action
Medium shots – relationships, dialogue, and interaction
Close-ups – emotion, psychology, and key narrative details
Each shot size serves a specific purpose, and understanding when and why to use them is essential for visual storytelling.
Test your skills with the exercise below.
When filmmakers use storyboards to plan the shot sizes of their movie, a lot more goes into the decision-making than the classic ‘establishing to shot, reverse-shot’ tradition. These are the types of shot size used in film, and why you might choose to use them.
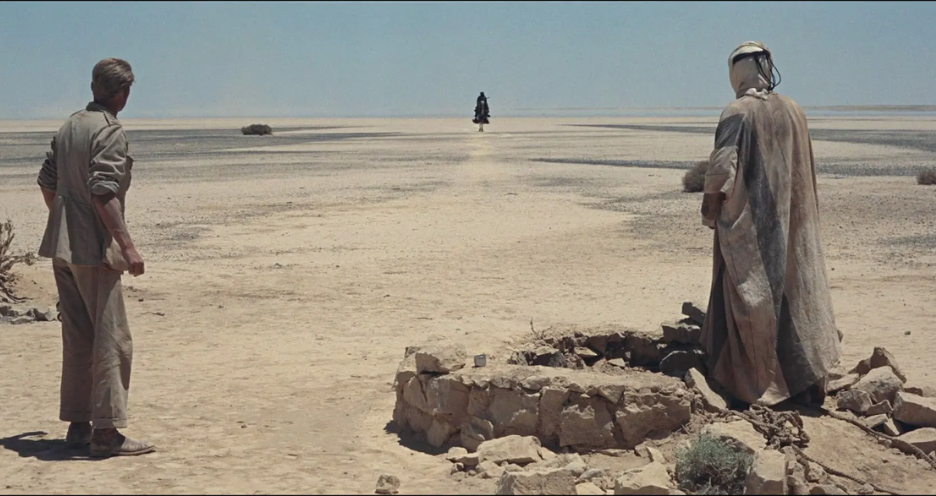
EXTREME WIDE SHOT (EWS)
Extreme Wide Shot is often used to emphasize the environment or scale, making the subject appear small within the frame.
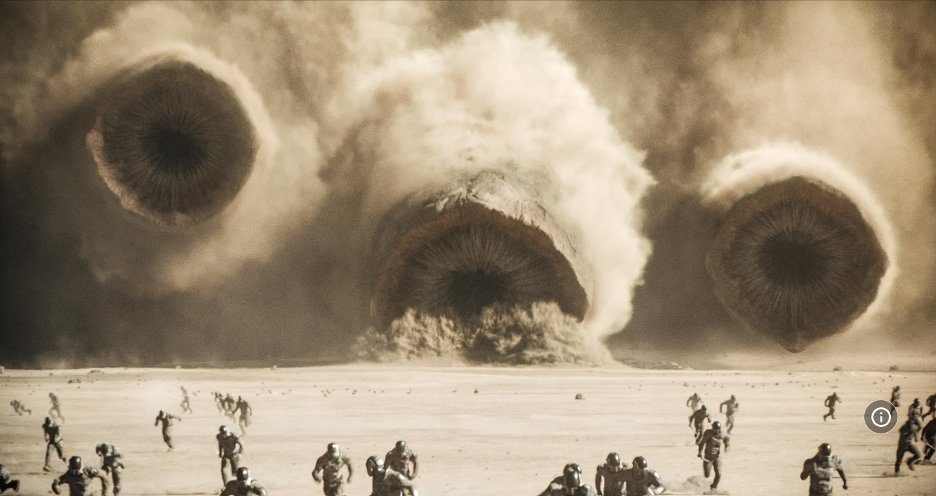
WHAT IT IS…
Wide landscape, character in the distance.
WHY USE IT…
To establish
1) Location: The extreme wide shot tells your viewer where they are and where the story will unfold.
2) Isolation: An extreme wide shot can convey just how alone a character is.
3) Scale: A giant subject needs a giant shot if you want to show it all – or to show how tiny the people are beside.
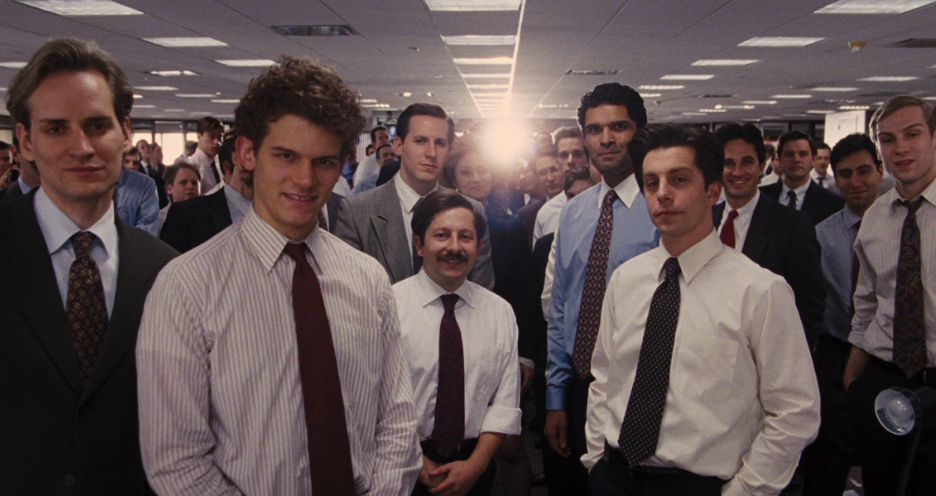
WIDE SHOT (WS)
Wide shot is often called Full Shot if the subject is a full character.
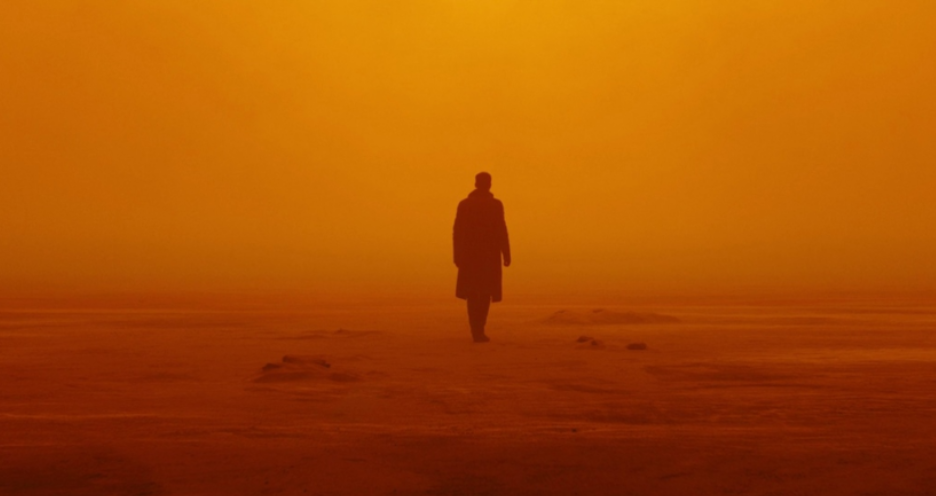
WHAT IT IS…
Character’s whole
body in frame.
WHY USE IT…
To capture
1) Action: Your primary choice for action and movement, making it the go-to shot for Jackie Chan fight scenes, and Tom Cruise stunts.
2) Character + Setting: The wide is also the most effective shot for binding character to setting. If a character is defined by their relationship with the land this shot is vital.
medium shot (ms)
Medium Shot is commonly used for dialogue and can also be used for a character talking to themselves.
WHAT IT IS…
Character from the waist up.
WHY USE IT…
To capture
1) Emotion + Character + Setting: Setting still plays a part in the medium shot, but now we are close enough to see the life in the character’s face and eyes – wide-eyed wonder as they explore a new world, or their feelings when they meet someone new.
2) Dialogue: The medium shot is vital for dialogue scenes, making it the most common frame for a two-shot (two characters in the frame at once).
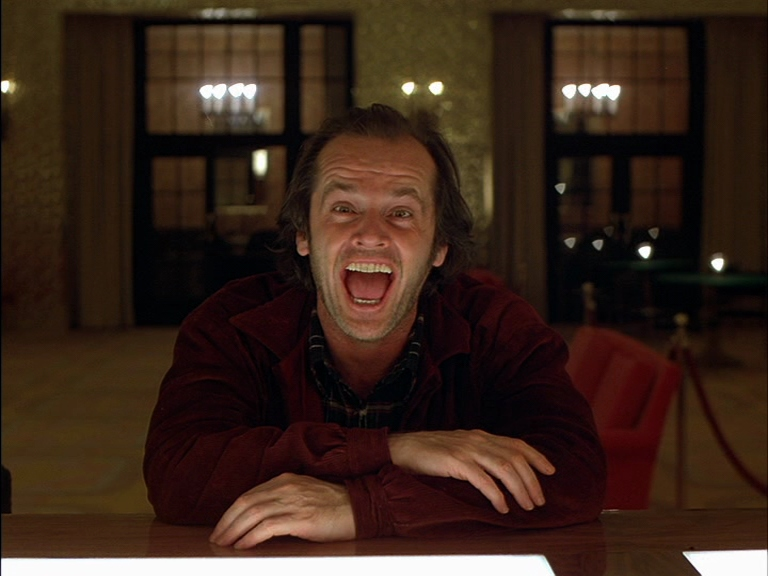
MEDIUM CLOSE-UP (MCU)
Medium Close-Up is used to capture emotion while still showing part of the surroundings for context.
WHAT IT IS…
Character from the chest up.
WHY USE IT…
To capture
1) Emotion: Emotional complexity requires proximity. The Medium Close Up brings the character’s inner world closer to the viewer.
2) Without: drawing attention to the shot choice.
CLOSE-UP (CU)
Close-Up is often used to emphasize a character’s facial expressions or emotions by tightly framing the subject.
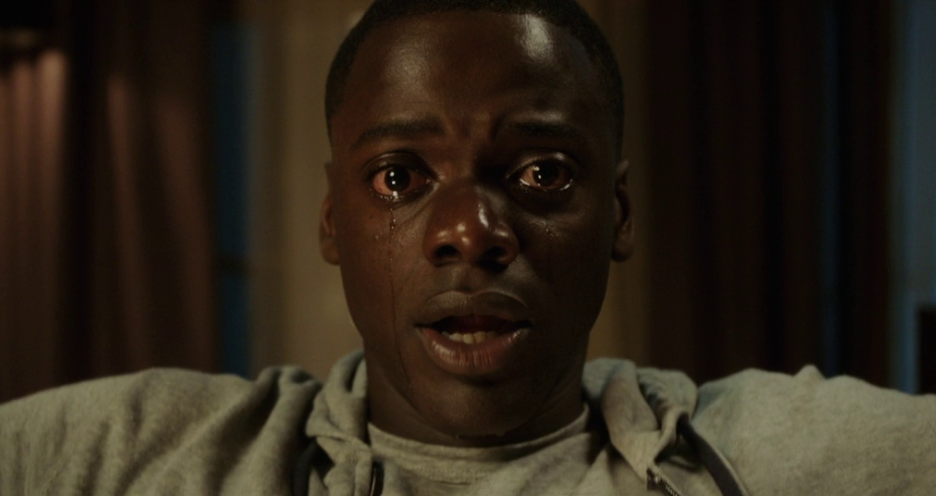
WHAT IT IS…
Shoulders of neck up.
WHY USE IT…
To capture
1) Emotion: The Close Up brings the faces of your characters to the fore of the frame, and invites the viewer to feel what they feel. A vital choice for emotional scenes.
2) Inserts: The Close Up also helps convey narrative details with inserts – the gun in the pocket, the bare leg of the dead samurai in the rain.
EXTREME CLOSE-UP (ECU)
Extreme Close-Up focuses on a specific detail to intensify emotion or emphasis.
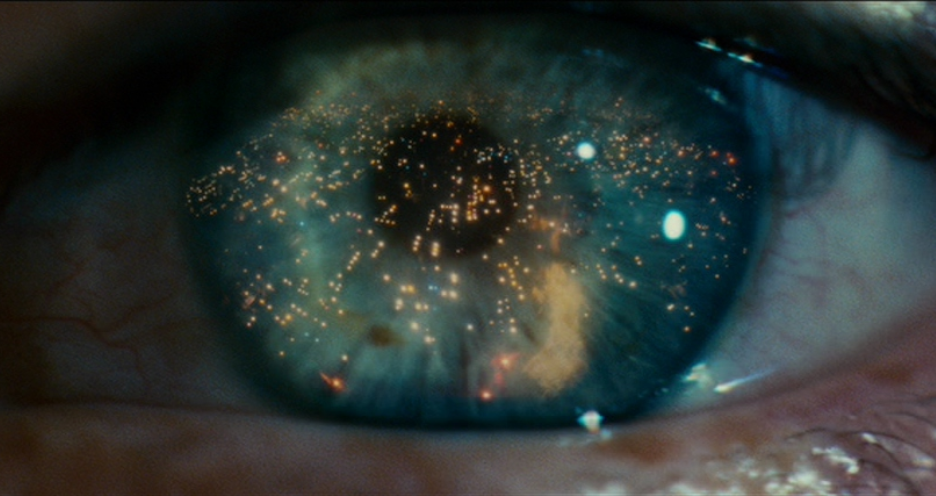
WHAT IT IS…
One part of the face.
WHY USE IT…
To capture
1) Expression: A forced-open eye, lipstick moving across lips, sweat running down a temple, the Extreme Close Up is highly stylized, and a hallmark of bold, and expressive filmmaking.
2) Tiny Inserts: The Extreme Close Up is also the shot choice for narrative details that are small – an insert of the phone number in a book of matches, a cufflink left behind.
OVER-THE-SHOULDER (OTS)
Over-the-Shoulder Shot is used in conversations to show perspective and spatial relationship between characters.
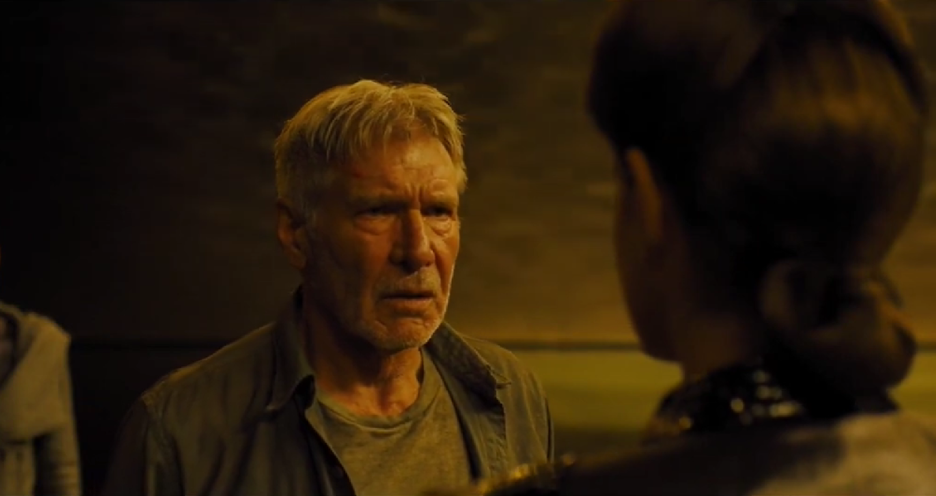
WHAT IT IS…
MS/CU from behind the shoulder of another character.
WHY USE IT…
To capture
1) Dialogue: A classic basis for ‘shot, reverse-shot’ conversations, the Over the Shoulder brings the viewers right into the scene with the characters.
2) Aesthetic: An OTS layers the shot with more depth.
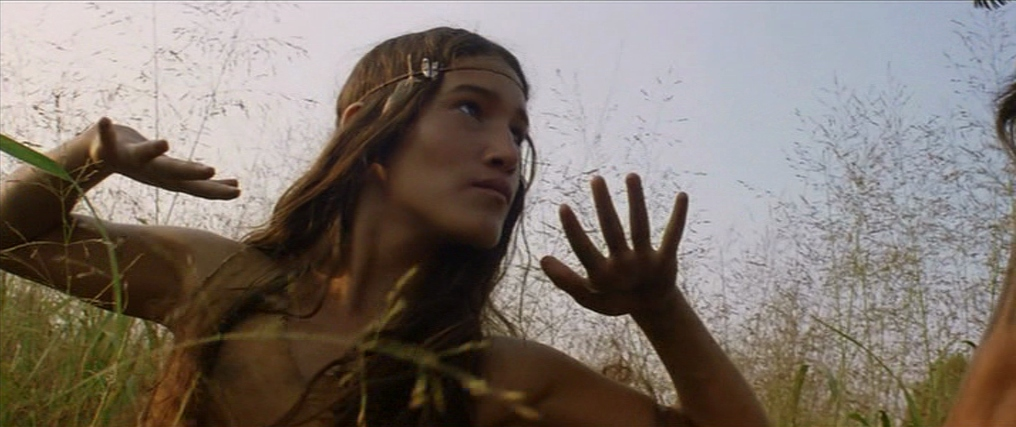
POINT OF VIEW (POV)
Point of View Shot shows the scene from a character’s eyes to immerse the viewer in their experience.
WHAT IT IS…
The viewpoint from a character’s eyes.
WHY USE IT…
To capture
1) Psychological immersion: the POV shot places us directly inside the characters’ shoes, making a single character’s experience central to the scene.
2) Concealment: sometimes the POV serves to introduce a character (or monster!) without revealing what they look like.
PRO TIPS
- Consider using close shots to conceal what is outside of the frame, not just to focus on what is within. Cutting from close to a wider reveal is a tool for surprise.
- Be careful with overly-stylized shot choices. Cinematography can draw attention to itself at the cost of character and story. Choose wisely, which often means diegetically (within the plane of the story).
- Look for interesting new ways to blend shot sizes. A simple OTS with another character in the background creates dynamic perspective, while combining a full shot and extreme wide in one can deliver the best of both worlds.
Learning exercise
Each shot size can help show different things in a film:
CHARACTER
(i) the way a character moves,
(ii) the way they sit,
(iii) the way they smile…
NARRATIVE
(iv) what’s beneath that smile,
(v) that chair, or
(vi) that desert?
SETTING
(vii) epic versus (viii) intimate,
(ix) cosmic is in the stars, but also
(x) in the fingertips…
AESTHETIC
(xi) Wes Anderson?
(xii) Paul Thomas Anderson?
(xiii) Roy Andersson?
(xiv) Or you?
Which types of film shot would you say best capture or reflect each of these numbered references and why?
There is no right answer here, but we would love to hear thoughts.
